Welcome to the New Home Sewing Machine Instruction Manual! This guide provides comprehensive instructions for safe operation, maintenance, and troubleshooting of your sewing machine. Designed for household use, it covers threading, bobbin winding, tension adjustment, and pattern cams. Read thoroughly before use to ensure optimal performance and longevity of your machine.
1.1. Purpose of the Manual
The purpose of this manual is to guide users in safely operating, maintaining, and troubleshooting their New Home sewing machine. It provides detailed instructions for threading, bobbin winding, and using advanced features like zigzag stitching and pattern cams. By following this guide, users can ensure optimal performance and extend the machine’s lifespan.
1.2. Intended Use of the Sewing Machine
The New Home sewing machine is designed exclusively for household use, enabling users to perform straight stitching, zigzag stitching, and other decorative patterns. It is suitable for sewing fabrics of varying thickness and is ideal for crafting, repairing, and creating custom textile projects. Always follow the manual for proper operation and care.
1.3. Importance of Reading the Manual
Reading the manual is crucial for understanding safety guidelines, proper operation, and maintenance of your New Home sewing machine. It ensures optimal performance, helps troubleshoot issues, and extends the machine’s lifespan. Familiarize yourself with all instructions to maximize functionality and avoid potential risks or damage to the equipment.
Safety Precautions
Ensure safety by turning off the machine during needle adjustments, keeping hands away from moving parts, and avoiding use near water. Use only original parts and follow all guidelines for proper operation.
2.1. General Safety Guidelines
Always use the machine for its intended purpose and follow instructions carefully. Keep children away and avoid loose clothing or long hair near moving parts. Never operate a damaged machine or use unauthorized parts. Ensure the machine is placed on a stable surface and turn it off during adjustments or when unattended.
2.2. Electrical Safety
Always use a grounded power source and avoid damaged cords or plugs. Turn the machine off when making adjustments or changing needles. Keep the machine away from water and never touch electrical parts with wet hands. Ensure proper ventilation to prevent overheating and unplug when not in use for extended periods.
2.3. Handling Sharp Objects and Needles
Always handle needles and sharp objects with care to avoid injury. Use a needle inserter for safer installation. Keep fingers away from the needle’s path while sewing. Store needles in a protective case when not in use. Regularly inspect needles for damage and replace them if bent or dull to prevent breakage.

Machine Overview
This section introduces the key components and features of the New Home sewing machine, including its design, advanced functions like zigzag stitching, and included accessories such as bobbins and needles.
3.1. Key Components of the Sewing Machine
The New Home sewing machine features a sturdy frame, precise stitch regulator, and essential components like the needle, bobbin, tension discs, and spool pins. It includes pattern cams for decorative stitching, a foot pedal for control, and a zigzag mechanism for versatile sewing options, ensuring efficient and creative sewing experiences.
3.2; Accessories Included
The New Home sewing machine comes with essential accessories, including bobbins, needles, oil for lubrication, and a screwdriver for adjustments. Additional items like pattern cams for decorative stitching and a foot pedal enhance functionality. These accessories ensure optimal performance and versatility for various sewing tasks, making your sewing experience efficient and enjoyable.
Setting Up the Sewing Machine
Unpack and inspect the machine, ensuring all parts are included. Apply oil to moving components for smooth operation. Place the machine on a stable, flat surface to ensure proper functionality and safety during use.
4.1. Unpacking and Initial Inspection
Carefully unpack the sewing machine and accessories. Inspect for damage or missing parts. Verify all components, such as needles, bobbins, and pattern cams, are included. Ensure the machine is complete and undamaged before proceeding. If any items are missing, contact customer support for assistance.
4.2. Oiling and Maintenance
Regular oiling is essential to ensure smooth operation. Apply a few drops of sewing machine oil to moving parts, such as the bobbin area and tension discs. Sew on scrap fabric to distribute the oil evenly. Repeat every 50 hours of use or as indicated in the maintenance chart.
4.3. Placing the Machine on a Flat Surface
Place the sewing machine on a sturdy, flat surface, such as a table or countertop. Ensure the surface is level to maintain even stitching. Avoid direct sunlight or moisture. Secure the machine to prevent movement during operation. Proper positioning ensures stability, reducing vibration and noise for a smoother sewing experience.

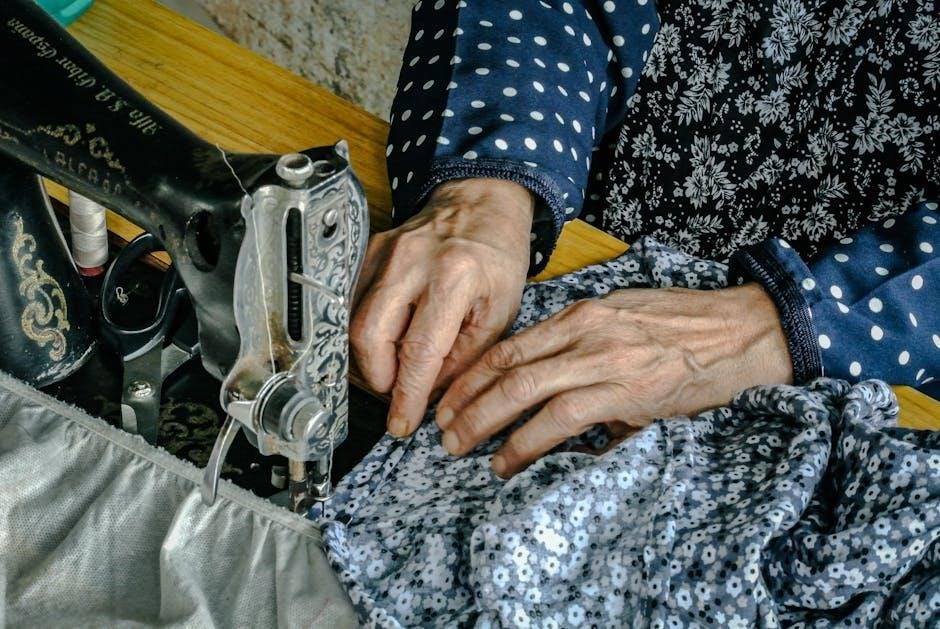
Threading the Machine
Properly thread the machine by following the guide on the machine’s arm. Gently pull the thread through the tension disc and take-up lever, ensuring it seats correctly. Cut excess thread near the spool to avoid tangles. Proper threading ensures smooth operation and consistent stitching quality.
5.1. Upper Thread Threading
Begin by placing the thread spool on the machine’s spool pin. Guide the thread through the upper tension discs, ensuring it seats properly. Gently pull the thread to remove any slack. Insert the thread through the take-up lever and needle from front to back. Trim excess thread close to the needle for smooth operation.
5.2. Bobbin Winding and Threading
Wind the bobbin by placing the thread on the winder and turning the machine; Stop when full, cut the excess, and insert the bobbin into the case. Thread the bobbin by pulling the thread through the case’s guide, then gently tug to seat it properly. Ensure the bobbin is secure and the thread isn’t tangled.
This ensures smooth stitching and prevents issues during sewing.
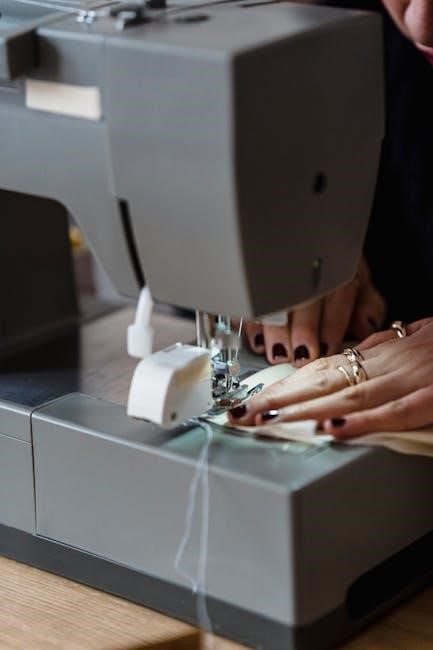
Basic Sewing Operations
Start and stop the machine using the foot control or button. Select stitch patterns for straight, zigzag, or decorative stitching. Adjust stitch length and width as needed for your fabric type.
Ensure fabric feeds smoothly and maintain consistent tension for even stitching.
6.1. Starting and Stopping the Machine
To start the machine, depress the foot control gently until it begins sewing. For stopping, release the foot control or press the stop button. Always ensure the needle is clear of fabric before stopping. Turn off the power when making adjustments or leaving the machine unattended. Refer to your manual for model-specific controls.
6.2. Selecting Stitch Patterns
To select stitch patterns, use the pattern cam knob located on the machine’s front. Turn the knob to choose from various stitches like straight, zigzag, or decorative options. Refer to the stitch chart in the manual for guidance. Always test the stitch on scrap fabric before sewing your final project to ensure desired results.
6.3. Adjusting Stitch Length and Width
Adjust the stitch length using the length control knob, and the stitch width using the width control knob. Turn the knobs to achieve desired measurements. Always test adjustments on scrap fabric before sewing to ensure accurate results. Refer to your manual for specific guidance on customization for various fabrics and projects.
Advanced Features
Explore advanced features like zigzag stitching, pattern cams, and reverse sewing. These options enhance creativity and versatility for complex sewing projects and professional finishes.
7.1. Zigzag Stitch Operation
To engage the zigzag stitch, open the lid and turn the zigzag width knob to 5 (CAM RELEASE). Insert the pattern cam, aligning it with the pin. Turn the cam until secure. Adjust the stitch width using the knob for desired effect. Ideal for decorative edging or stretch fabrics. Ensure the machine is designed for household use and features like reverse stitching for secure seams.
7.2. Using Pattern Cams
Access the pattern cams by opening the lid or cam door. Insert the desired cam, aligning it with the machine’s pin or mark. Turn the knob to secure it. Select stitch patterns using the cam knob. This feature allows for decorative stitching; Ensure the machine is set to zigzag mode for proper operation.
7.3. Reverse Stitch Function
The reverse stitch function allows you to sew backward, securing seams. Activate by turning the reverse stitch knob or pressing the button. This feature is essential for reinforcing stitches. Always stop the machine before switching directions; Keep hands clear of the needle area during operation for safety.

Thread Tension Adjustment
Adjusting thread tension ensures balanced stitching. Check both upper and bobbin thread tension regularly. Use the tension dials to fine-tune settings. Test on scrap fabric to achieve even stitches.
8.1. Understanding Thread Tension
Thread tension is crucial for balanced stitching. Proper tension ensures even fabric feeding and prevents puckering or loose stitches. Adjust the upper and bobbin tension dials to achieve the right balance. Test on scrap fabric to verify settings. Incorrect tension can lead to uneven seams or thread breakage during sewing.
8.2. Adjusting the Tension Disc
To adjust the tension disc, switch off the machine. Locate the disc near the spool pin. Gently turn the disc to tighten or loosen the thread. Test stitches on scrap fabric after adjustment. Proper tension prevents puckering or loose stitches. Refer to the manual for specific guidance if needed.
8.3. Troubleshooting Tension Issues
Common tension issues include uneven stitches, puckering, or thread breakage. Check if the thread is properly seated in the tension disc and guides. Ensure the bobbin is correctly wound and threaded. Adjust the tension disc as needed and test on scrap fabric. Clean the machine to remove lint that may affect thread flow.
Maintenance and Care
Regularly clean the machine to remove lint and debris. Lubricate moving parts as recommended. Store the machine in a dry, cool place to ensure optimal performance and longevity.
9.1. Regular Cleaning
Regular cleaning is essential for maintaining your sewing machine’s performance. Use a soft brush to remove lint and debris from the bobbin area, tension discs, and stitch plate. Avoid harsh chemicals; instead, use a clean, dry cloth to wipe down surfaces. Perform a deep clean monthly to prevent dust and thread buildup.
9.2. Lubricating Moving Parts
Regular lubrication ensures smooth operation and prevents wear. Use a few drops of sewing machine oil on moving parts, as specified in the manual. Avoid over-lubrication to prevent dust attraction. Proper lubrication keeps the machine running quietly and efficiently, extending its lifespan and maintaining stitching quality. Always use the recommended oil type.
9.3; Storing the Machine
Store the machine in a dry, cool place, away from direct sunlight and moisture. Use a protective cover or original packaging to prevent dust accumulation. Disconnect the power cord and foot control for safety. Avoid plastic bags to prevent moisture buildup. Ensure the machine is clean and dry before storage for optimal preservation.
Troubleshooting Common Issues
Identify common issues like the machine not turning on, fabric not feeding, or thread breakage. Check power connections, feed dogs, and thread tension for quick solutions.
10.1. Machine Not Turning On
If the machine does not turn on, first check the power cord connection and ensure it is properly plugged into a functioning outlet. Verify the power switch is in the “on” position. Check for blown fuses or tripped circuit breakers. Inspect the cord for damage and ensure no child safety locks are engaged. Consult the manual or contact customer support if issues persist.
10.2. Fabric Not Feeding Properly
If fabric isn’t feeding properly, ensure the feed dogs are in the raised position and functioning correctly. Check that the presser foot is lowered to grip the fabric securely. Adjust the presser foot pressure if necessary. Clean the feed area to remove thread buildup and ensure smooth fabric movement. Consult the manual for further guidance.
10.3. Thread Breakage
Thread breakage can occur due to incorrect tension, dull needles, or improper threading. Check the thread tension and adjust as needed. Ensure the needle is sharp and correctly installed. Verify that the thread path is clear and properly threaded. Clean the machine to remove any debris that may cause friction. Consult the manual for specific guidance on resolving this issue effectively.
Accessories and Additional Resources
Your New Home Sewing Machine comes with essential accessories like bobbins, needles, and pattern cams. Additional resources include downloadable PDF manuals, customer support, and warranty information for troubleshooting and maintenance guidance.
11.1. Compatible Accessories
The New Home Sewing Machine supports various compatible accessories, including bobbins, needles, pattern cams, oil, and screwdrivers. Additional items like foot pedals and specialized presser feet enhance functionality. These accessories ensure optimal performance and versatility for different sewing tasks.
11.2. Downloading the Manual in PDF
The New Home Sewing Machine Instruction Manual is available for download in PDF format from various sources, including eBay and the Internet Archive. Users can purchase and download the manual using payment methods like PayPal or Visa. This ensures easy access to instructions for operation, maintenance, and troubleshooting.
11.3. Customer Support and Warranty Information
For assistance with your New Home Sewing Machine, contact customer support via phone or email. The warranty covers defects in materials and workmanship for household use. Register your machine and retain the proof of purchase. Regular maintenance as outlined in the manual is required to maintain warranty validity.